
You are currently viewing How My Small Sewing Studio Evolved 

How My Small Sewing Studio Evolved 

One Practical Change at a Time

Designing sewing patterns means spending countless hours at my computer, sewing machine and cutting table. But interestingly, I do all of this in my small workspace, yet it measures just 3.53m × 2.45m.

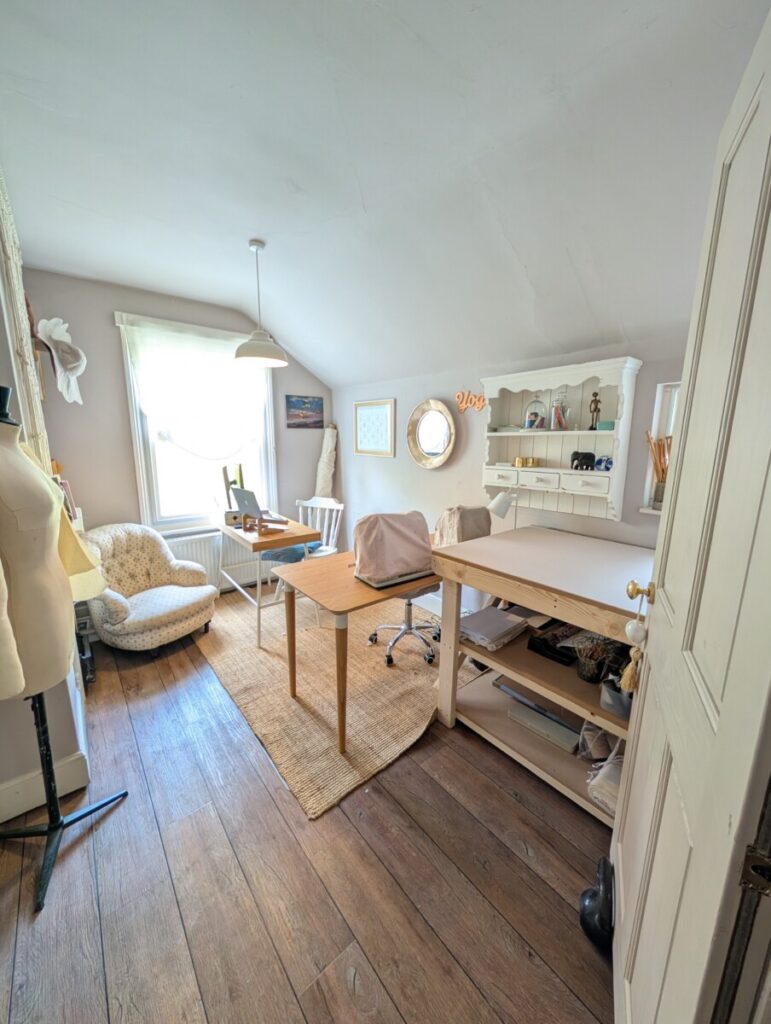
Nestled in the back of our 1916 red brick semi-detached townhouse in Rutland, the room has a beautiful garden view and charming sloping ceiling. It’s full of character, but fitting everything a sewing business needs into such a compact space has definitely been a puzzle.

It certainly didn’t happen overnight. Looking back at old photos, it’s amazing how much the room has evolved, with every change solving a problem I’d been living with.

Phase One: Making the Most of What I Had

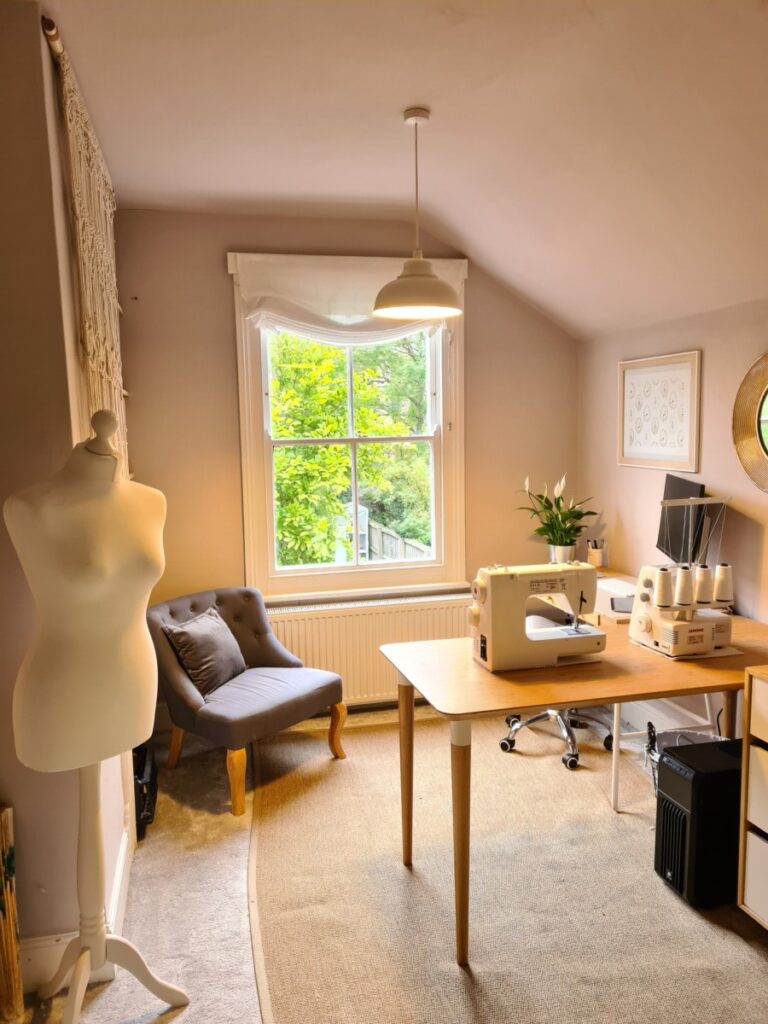
The room originally had thick carpet throughout.

It felt cosy, but as anyone who sews will know, carpet and sewing pins aren’t exactly the best combination! Dropped needles had a habit of disappearing forever.

At the time my computer desk and sewing desk formed an L-shape. This worked surprisingly well for moving quickly between pattern drafting and sewing samples, but there was one major drawback.

There wasn’t enough room to keep both my sewing machine and overlocker set up side by side. Every time I wanted to switch between stitching and overlocking I had to physically swap the machines over.

Storage came from a longs set of drawers which doubled as a cutting surface—but only just. Anything larger than a small project meant cutting on the floor or carrying everything downstairs to the dining room. That was probably the biggest bottleneck in my workflow.

Phase Two: Saying Goodbye to Carpet

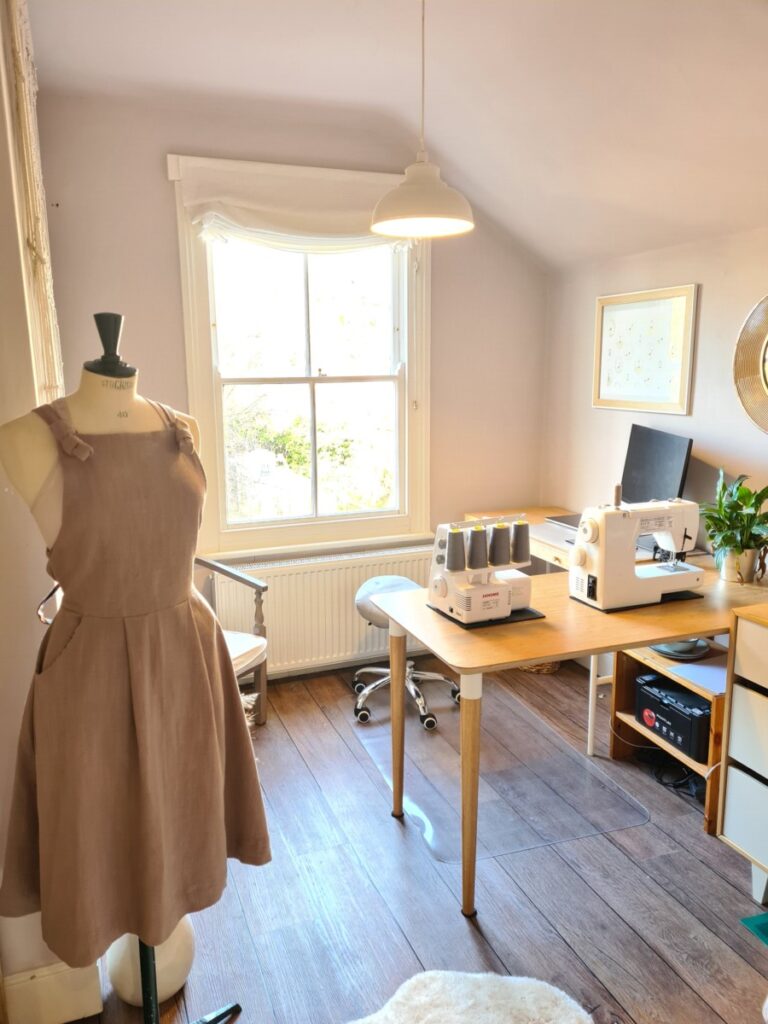
The first real improvement was replacing the carpet with hard flooring.

This immediately solved the missing pin problem and made the room much easier to keep clean. There was one unexpected downside though : Sewing machines can be surprisingly noisy on hard floors, and the room suddenly echoed much more than before.

The solution was wonderfully simple, a large natural rug. It softened the sound considerably while still leaving me with all the practical benefits of hard flooring.

Sometimes the smallest changes make the biggest difference.

Phase Three: The Cutting Table That Changed Everything

This was undoubtedly the biggest transformation.

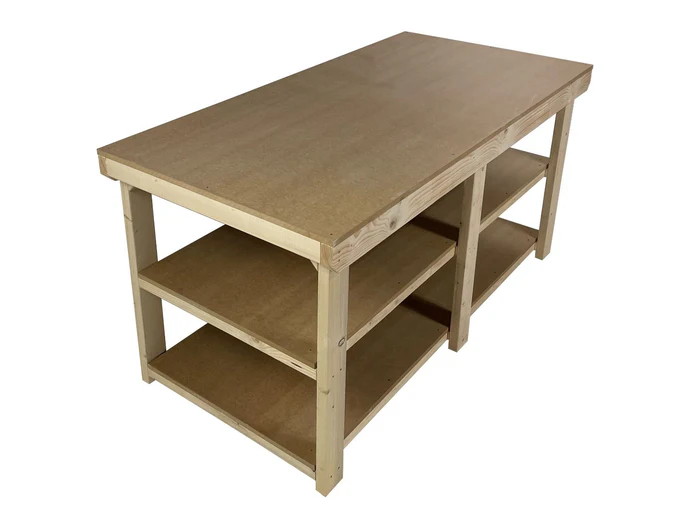
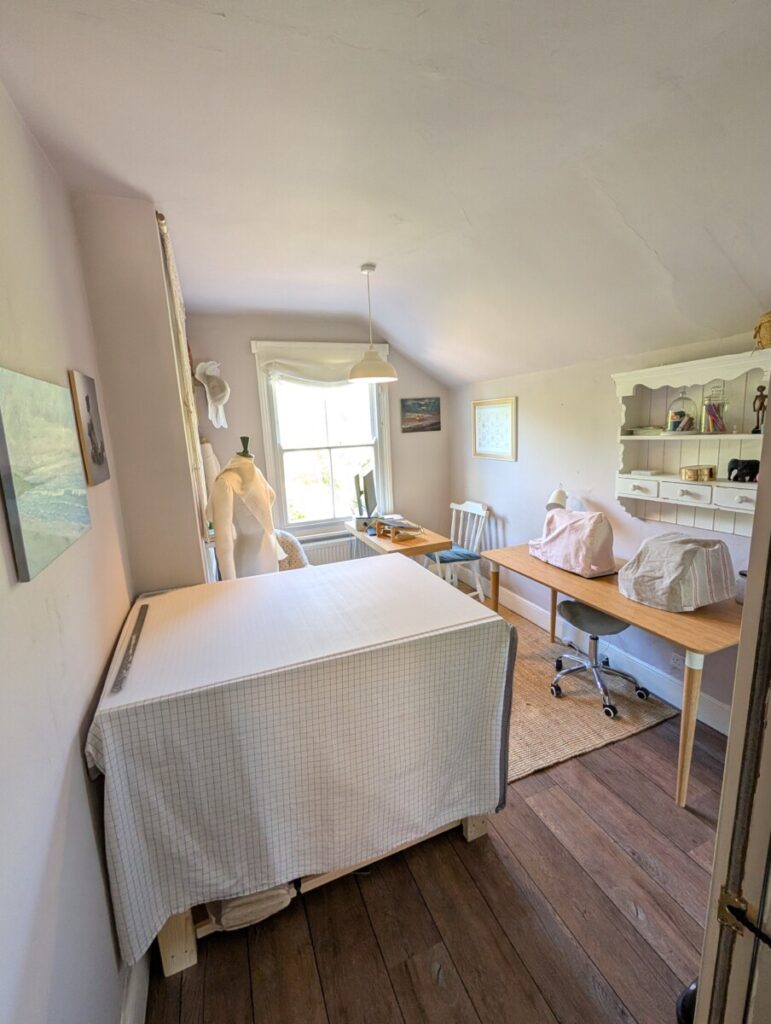
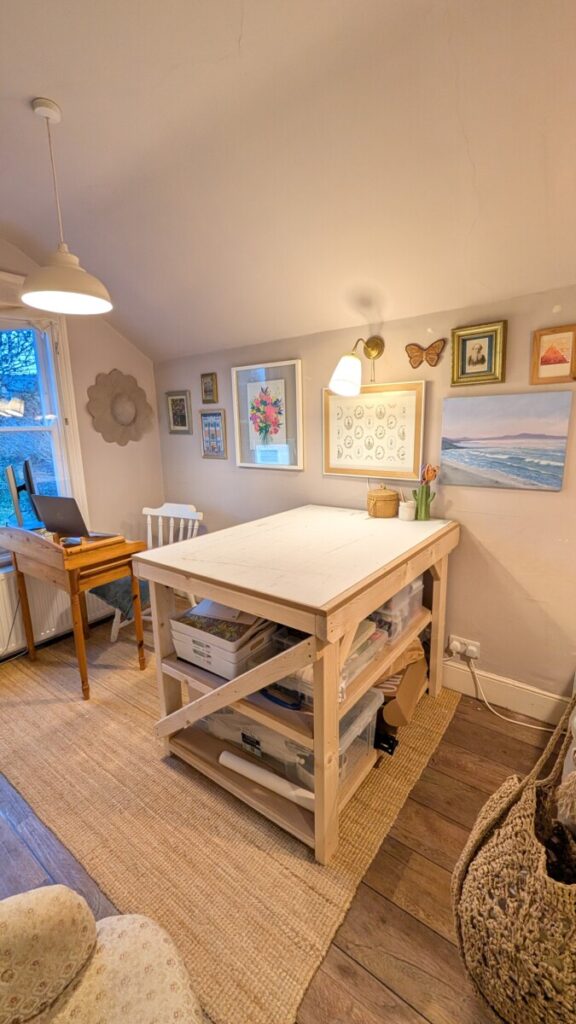
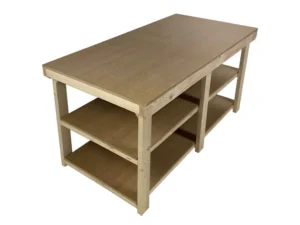
Instead of the narrow drawers, I bought a compact wooden workbench from Arbor Garden Solutions with two shelves underneath.

At 120cm (4ft) long, it isn’t enormous, but it fits the room perfectly.

I then ordered a self-healing cutting mat cut to exactly the same size, instantly creating a dedicated cutting station. I honestly hadn’t appreciated how much easier sewing could become simply by having a permanent place to cut fabric.

  • No more moving furniture.
  • No more cutting on the floor.
  • No more taking projects downstairs.

For such a relatively small table, it completely transformed how I work. But the room had lost it’s simplicity and looked rather cluttered without my white Ikea drawers hiding all the “stuff”. Also, positioning a cutting table against a wall isn’t ideal when working with larger pieces of fabrics. 

Finding the Right Layout

Of course, introducing a cutting table created a new challenge. Where on earth could it go?

Over several weeks I experimented with numerous layouts, living with each one for at least a week before deciding whether it really worked. Some arrangements looked efficient on paper but never felt comfortable.

One common issue was having my back towards both the door and the window. I’ve always loosely followed Feng Shui principles, not because I follow every rule, but because many of the ideas simply make practical sense.

Eventually I booked an online consultation with a Feng Shui consultant. Interestingly, many of the recommendations aligned with what I’d already instinctively preferred. Most importantly was to position my desk so that I could see both the door and the beautiful garden view while working.

They also suggested improving the lighting and even recommended reversing the direction the door opens, something that’s still on my to-do list.

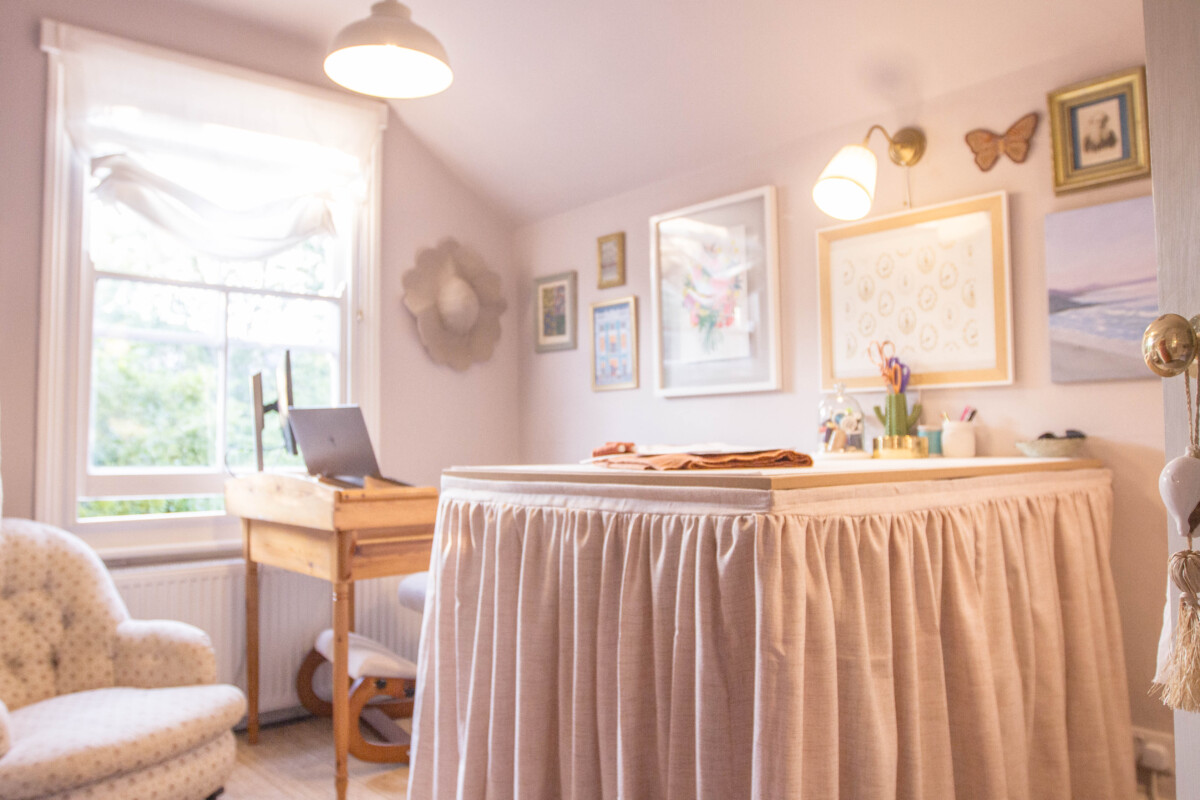
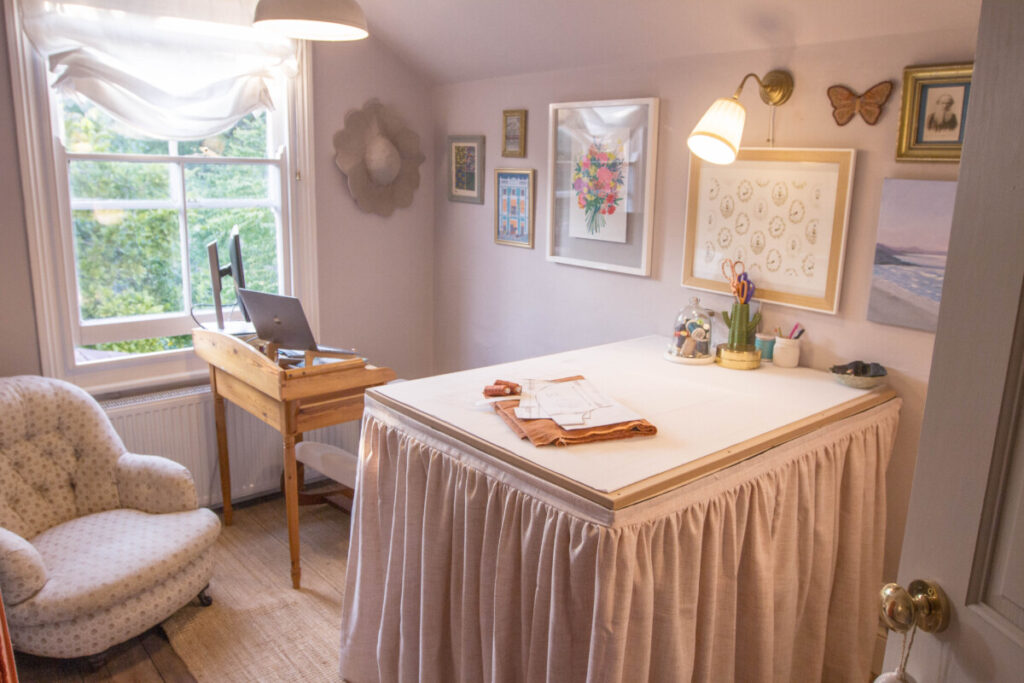
To make the new layout possible, I needed a much smaller computer desk, and I eventually found a beautiful vintage washstand at an online auction. It turned out to be exactly the right size.

Not only does it fit perfectly beside the window, but it also hides all the computer cables neatly behind it—a lovely bonus.

With that solved, the room finally found its natural layout:

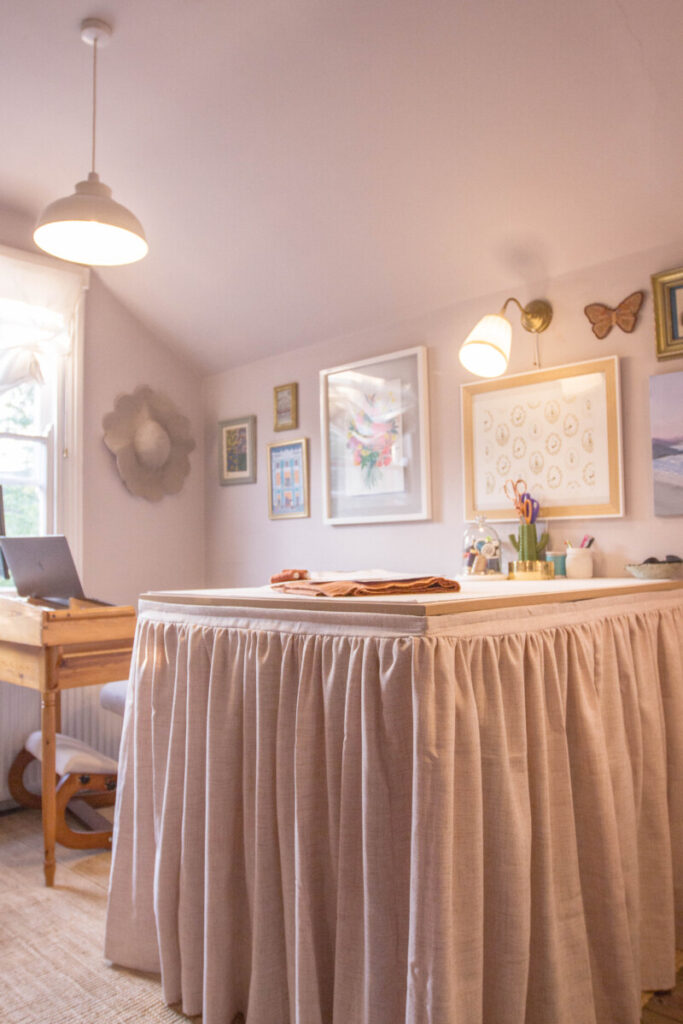
  • The computer sits by the window overlooking the garden.
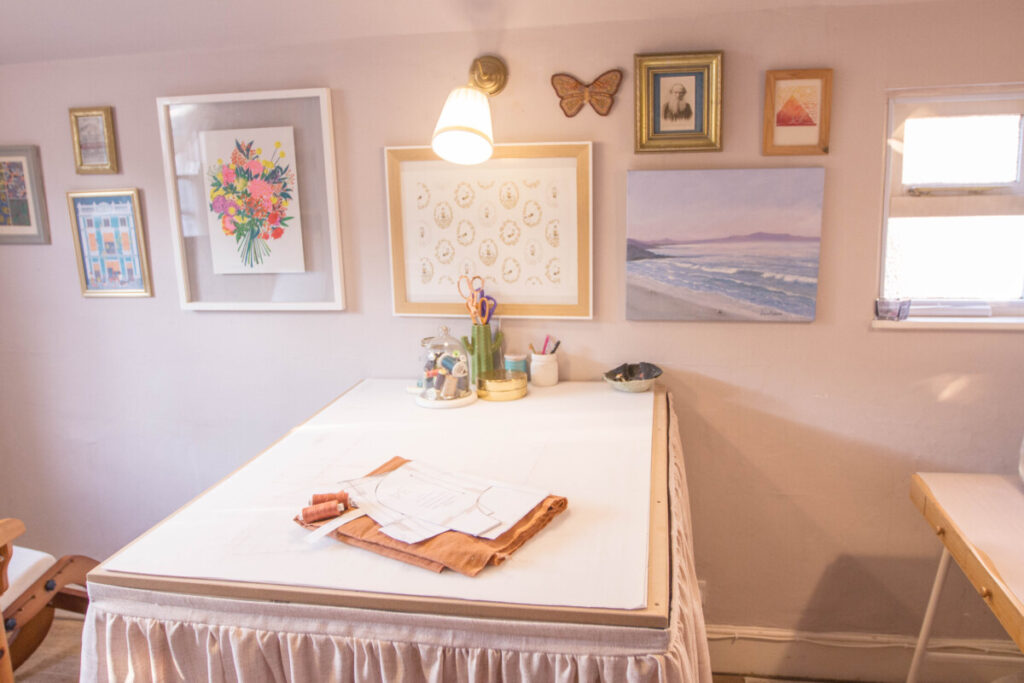
  • The cutting table sits proudly in the centre of the room.
  • The sewing machines have their own dedicated workstation.

Everything finally has a home.

Phase Four: Making It Feel Inspiring

Once the practical side was working well, I could finally focus on making the room somewhere I genuinely enjoyed spending long days.

The walls could still do with a fresh coat of paint one day, but instead of waiting for everything to be “finished”, I decided to start decorating with things that inspire me.

Artwork has gradually appeared across the walls. I created an inspiration board filled with colour palettes, sketches and ideas.

And following the Feng Shui consultation, I also installed two additional wall lights above my main workstations, which has made evening sewing far more comfortable.

One of my favourite additions is the table skirt attached with Velcro around the cutting table. It hides all the storage boxes underneath while making the table feel much softer and more like a piece of furniture than a workshop bench.

It’s such a simple project, but it completely changed the look of the room.

Final Thoughts

After months of experimenting, moving furniture, and slowly refining the room, I can honestly say this is the happiest I’ve been with my workspace.

Every area has a purpose, the workflow feels natural and I can move from drafting patterns, to cutting fabric, to sewing samples without constantly rearranging furniture.

Perhaps most importantly, it’s become a room that feels calm.

Considering the room measures only 3.53m × 2.45m, it’s amazing how much can fit into such a small footprint with a little planning. Sometimes good design isn’t about having more space. It’s about making the space you already have work harder for you.

If you’re trying to create a sewing room in a spare bedroom or another small space, my biggest piece of advice would be not to rush the layout. Live with each arrangement for a while before making permanent decisions. Sometimes the smallest tweak, such as moving a desk, adding lighting, or creating a dedicated cutting area, can make a bigger difference than buying lots of new furniture.

My Small Sewing Room Essentials

These aren’t sponsored recommendations, just the pieces that have genuinely made the biggest difference to working in a small space.

Cutting Table

The single biggest improvement to my sewing room. Having a dedicated cutting surface means I no longer cut on the floor or take projects downstairs. The bigger the better, but mine is 120 × 90 cm (4ft × 3ft) with two shelves underneath for storage.
Self-Healing Cutting Mat

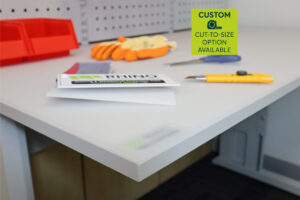
I had a large cutting mat cut to the exact dimensions of the tabletop. Why it works: Every inch of the surface becomes usable and I never have to move the mat. Mine is the A0 size.
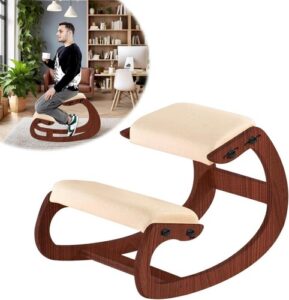
Kneeling Chair

I love a gym ball best of all, but they're not practical in a room with sharp needles and pins. Why it helps: It encourages me to change posture during long desk sessions. I found mine on Ebay too.
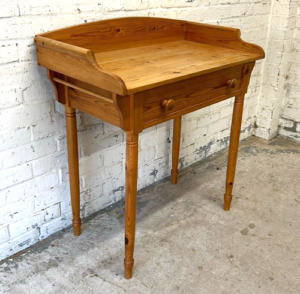
Vintage Washstand Desk

Replacing my larger desk with a vintage washstand completely changed the layout of the room. Why I love it: Compact footprint with hidden cable management. Check out auction rooms and antique centres, mine was from Ebay.

Wall Lighting

Adding dedicated task lighting above each workstation has made evening sewing much more comfortable. These were originally from IKEA, but as we don't have one nearby, I actually found mine on Vinted.
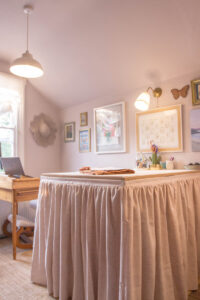
Table Skirt

A very simple sewing project using linen-like textured fabric and Velcro. Why I made it: It hides storage while making the room feel softer and less like a workshop.