
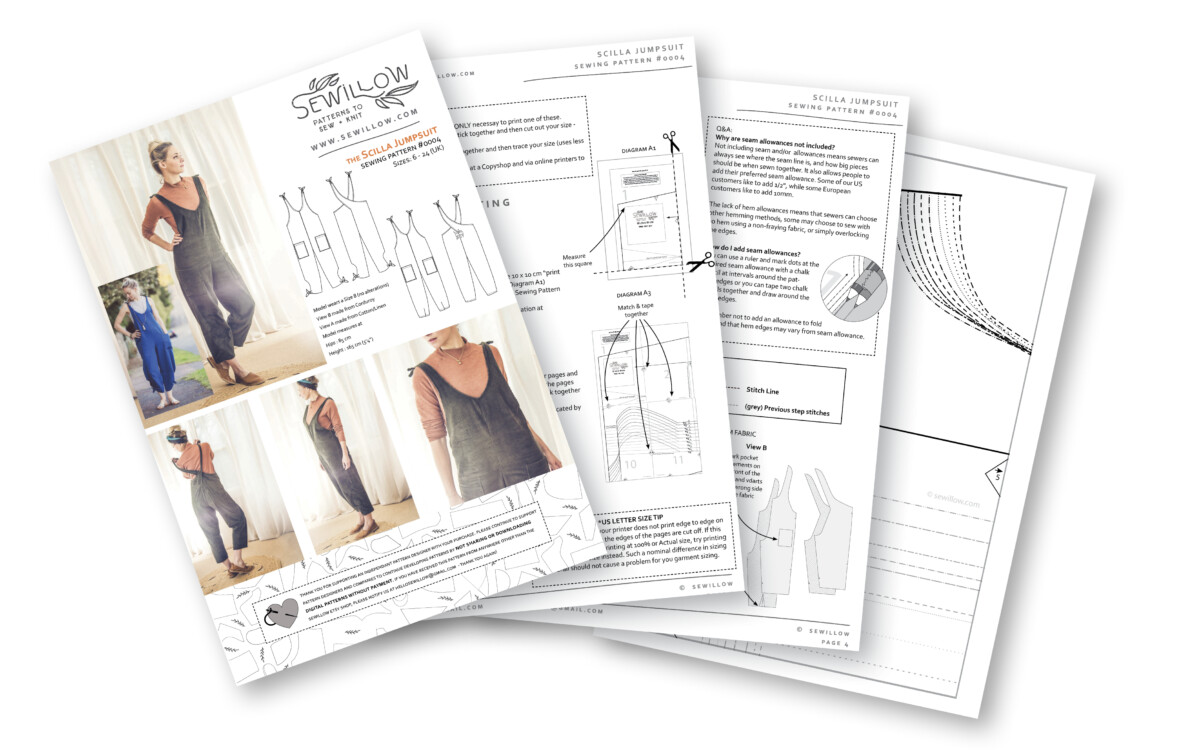
The great advantage of a PDF pattern is that it’s instantly available and you even if you need to send your pattern file off to a copy shop to be printed, you can start reading your instruction document as soon as you download your files.
Here at Sewillow we have now updated all our previous patterns (formerly known as Yogahound) and will continue to produce new patterns to also include LAYERS.
WHY USE LAYERS?
Well, with the availability of layers on a PDF, you can select to print the size or sizes you need ONLY. So let’s say you would like to make the Persea Harem Jumpsuit in a size 14 for yourself, you can turn off all the other layers so that the only visible lines on your PDF will be the size 14 layers. This will make cutting your pattern much easier because you will not need to keep an eye on the particular line of your size. The other benefit, is that by printing your size only, you will save considerable on the amount of ink your printer uses.
WHAT ABOUT THE DIFFERENT FORMATS?
Sewillow patterns are provided in 3 x formats: A4; Copyshop and Papersaver. The layers are present on all of these formats. So if for example you would like to print the papersaver pattern, you will find it much easier to turn off the layers of the sizes you won’t need before printing and tracing the overlapping shapes. Or if you were to send your file to a copy shop for a large print format, you can ask the copy shop to turn off all the other size layers.
HOW CAN I PRINT THE LAYERS I WANT ?
If you are sending your file to a Copyshop – and they offer the service of printing specific layers – make sure to let them know you would like to print only certain layers on your file. The layers are named after the available sizes eg. If you were wanting to print a size Large in Camassia Night Robe you would want the copy shop to turn off all layers except for “size L” and “UNIVERSAL” (keep this layer turned on for all sizes).
FOR PRINTING AT HOME (these steps are for A4 and Papersaver versions)
Step 1 : You will need to install or check that you already have installed Adobe Acrobat Reader. This tool is available for free on the Adobe website.
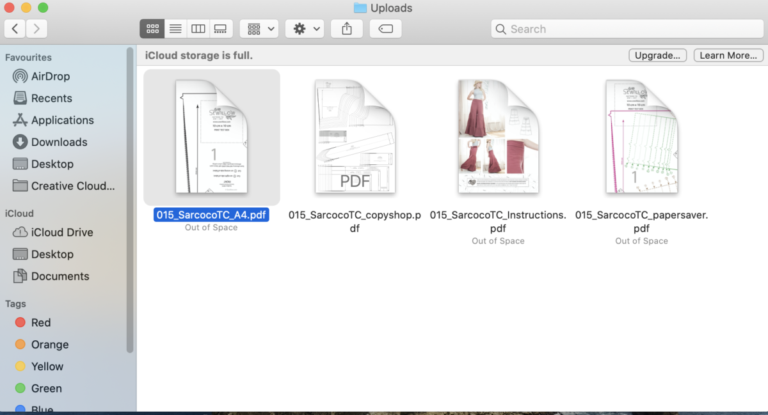
Step 2 : Select and Open the PDF file you would like to print for your pattern.
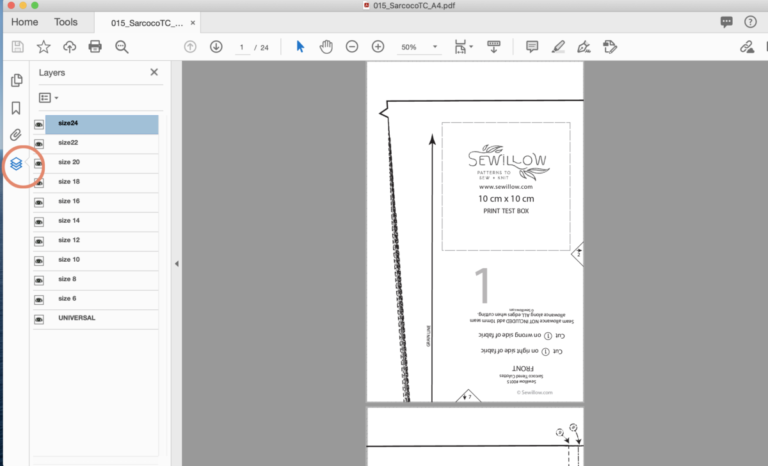
Step 3 : Once open in Acrobat Reader, there is an icon on the left that resembles a stack of papers (as marked by the orange circle). Click on that icon and you will a list of layers names that appear alongside.
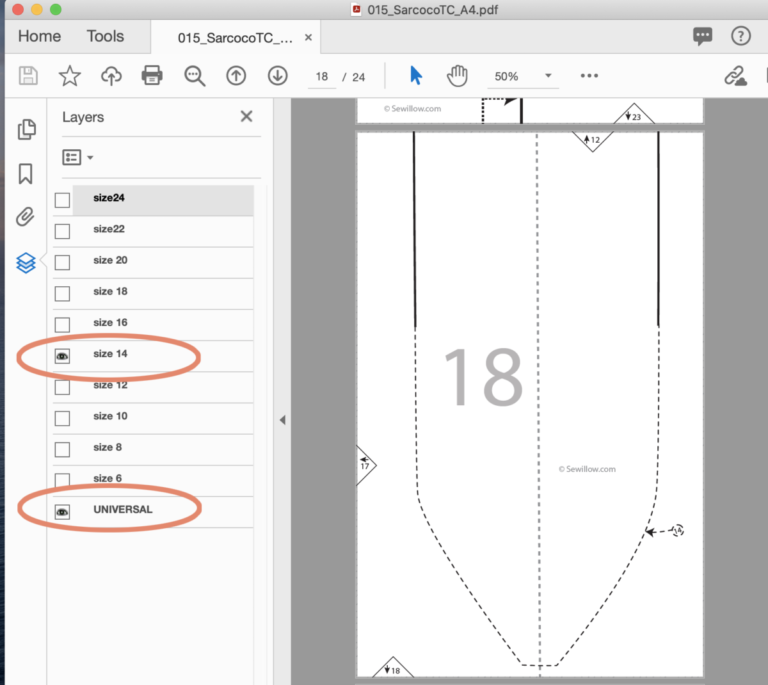
Step 4 : Now if you click on the little eye icon next to the layer name, that layer will turn off. You can click on the icon again to turn the layer back on. Continue to turn off all the layers you do not need. Ie. if you wanted to print a size 14, turn off all the other size layer. HOWEVER, make sure to always keep the “Universal” layer turned on because that layer is relevant to all sizes.
Step 5 : You can now follow the instructions on your Instruction Document to print your pattern pages to “Actual size” or at 100% scale. Starting by printing the page with the PRINT TEST BOX only so that you can measure test box to make sure your printer is printing at actual size.
Happy Sewing!


